Exterior rendering
House Rendering in Beeston | Planning the Exterior
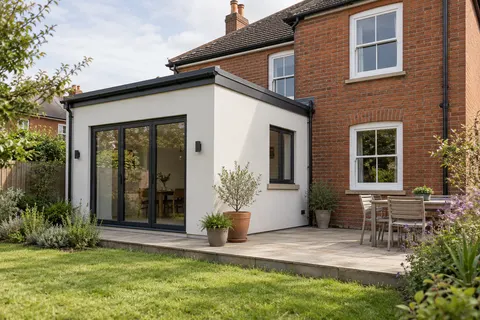
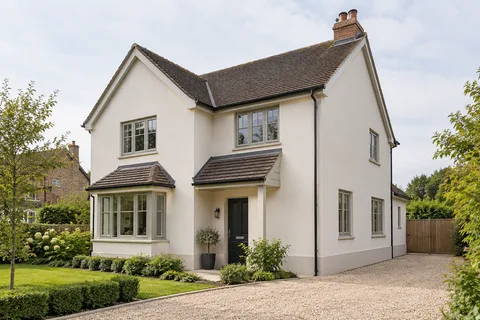
Rendering a house can bring separate additions together, replace a failing covering or change the balance between brick and render. The most useful first drawing is often a photograph with the proposed areas marked on it. It shows which parts of the building belong to the project and which features should remain visible.

On this page
Read the building as a set of connected parts
Walk around the house and list the walls by their position: front, rear, side, extension and any recessed returns. Record what each is made from and what covers it now, where that can be established. An older wall, newer blockwork and a repaired section may look similar once painted but need different treatment. A whole-house scheme should bring their appearance together without pretending their construction is identical.
Pay particular attention to the connection between an extension and the original house. A continuous colour need not mean a continuous build-up across the junction. Movement provision, material changes and existing joints still need to be respected in the design. Ask how the proposed finish deals with that connection before deciding that all visible lines should disappear.
- Scaffold and protection Windows, doors, paths and planting are covered; downpipes, lights and satellite brackets come off.
- Old finish tested or removed Failed render is removed; the survey decides whether any sound areas can remain within the specified system.
- Masonry repairs and beads Cracked bricks and open joints are repaired; corner, stop and base beads are fixed.
- Base coats Sand-and-cement scratch and float coats, or a manufacturer basecoat with mesh.
- Finish coat A painted, scraped or thin-coat coloured finish, applied in suitable weather.
- Fittings and junctions Fittings are refixed through the new surface; sills, roofline and abutments are sealed.
The usual order of work. The survey and the chosen products decide the actual steps.
Decide which brickwork earns its place
A brick plinth, entrance surround or band can give the house proportion and detail. If it is staying, show its full extent in the scope and ask how the render will terminate beside it. Retaining brick is more than leaving a patch uncovered: edges, projections and the relationship with rainwater need resolving. Protection during preparation and finishing should also be included.
Where exposed masonry is part of the intended result after removal, establish whether that outcome is realistic. Hidden brick may have been altered, patched or damaged before it was covered. Pebbledash removal needs a trial and a replacement plan, especially where the appearance of the revealed surface is important. A broad promise to restore original brickwork is not a substitute for seeing its condition.
On a house with a sloping drive, photograph where the proposed brick plinth meets the changing ground level. That junction may need a different visual treatment at either end. A single horizontal line on the front sketch can miss this detail, so include the side view before agreeing the finish.
Choose a system for the backgrounds you have
Silicone systems, monocouche and lime are not interchangeable labels for a tidy wall. Ask which complete system is proposed on each background and why it is suitable. The preparation, reinforcement where specified, thickness, texture and finishing requirements should be described together. A product name alone leaves too many decisions unresolved, particularly when several generations of construction are involved.
A lime-based approach may be appropriate for traditional fabric, while a modern extension may need a different specification. That does not prevent a coordinated appearance. It does mean samples should be compared honestly rather than promising an identical texture from different materials. Read silicone rendering and lime rendering as separate technical routes before trying to reconcile their colours.
| Part of the building | Decision to record |
|---|---|
| Original masonry | Existing layers, condition and compatible preparation |
| New extension | Masonry readiness and junction with the original wall |
| Retained brick detail | Protection and precise render termination |
| Altered opening | Frame position, sill and reveal finish |
Coordinate the jobs that affect the new surface
Replacement windows, roof-edge changes and rainwater work can alter the geometry of the finished wall. Establish their dimensions before render details are settled. A sill that projects well beyond bare masonry may not do so after an added build-up. Pipes may need temporary removal and repositioning. The person responsible for each item should be identified in the quotation or the wider project schedule.
External wall insulation makes that coordination more extensive because it changes the wall thickness. It needs a suitable design and assessment of the building, including the interfaces that ordinary rendering may leave largely unchanged. Do not ask a renderer to improvise an insulation scheme from the desired final colour. Keep the thermal work and the exterior appearance connected through one agreed set of details.
Plan the work around daily use
Identify the entrance that people will use, routes to bins and any equipment that needs regular access. A family may be able to change its routine for part of the work, but those arrangements should be agreed rather than discovered when materials arrive. Tell the contractor about pets, garden storage, fragile paving and deliveries that cannot be rescheduled easily.
Weather and curing requirements also affect the sequence. Ask how exposed work will be protected and how interruptions will be handled within the chosen system. A programme should distinguish the application stages from the wider period during which access equipment or protection may remain. The finish must not be rushed simply to make the whole project appear complete on one date.
Approve the appearance in a useful way
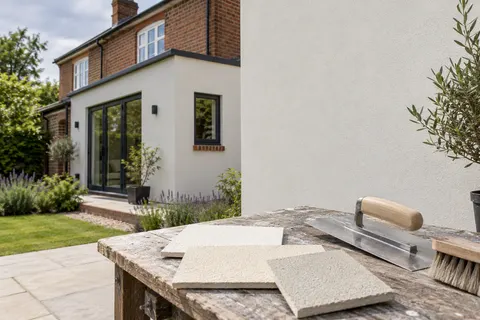
Use a sample that shows the proposed colour and texture at a meaningful scale. Hold or locate it beside retained brick, window frames and roof materials. View it in different light and from normal distances. A close inspection is useful for texture, while a view from across the garden shows how the finish fits the whole elevation. Record the chosen sample and product reference.
At completion, review the agreed details as well as the broad appearance. Check that fittings included in the work have been reinstated, planned edges are finished and outstanding items are recorded. Keep the installed materials and care information with the final scope. The record is particularly valuable when a later extension or repair needs to work with the finish already on the house.
Common questions
Must every elevation use the same render?
No. Different backgrounds can require different compatible specifications. Their appearance can still be coordinated, but any expected difference in texture should be discussed using samples.
Can the front remain brick while the rear is rendered?
Yes, where the building assessment and any relevant permissions allow the proposed work. Define the side returns and the exact stopping points so the result looks deliberate.
Should old pipes be changed first?
Assess their condition and position before finishing the wall. Necessary changes should be coordinated so the new surface is not disturbed unnecessarily.
Does whole-house rendering include a garden wall?
Only if it is expressly included and suitable for the proposed treatment. Garden walls have different exposure and detailing questions and should not be assumed to form part of the house package.
See housing and planning information for Beeston and nearby places, including the source and geography behind each figure.